 - be aware that prior to version 2012.11, some of the cells that appear in the Excel export file will be empty. These are items such as Dates: Date Added and Updated, Letters Printed and User.
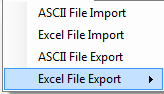
The Excel File Export menu:
This Excel File Import option is very informative, it provides lots of information on debtors and their debts. This option creates information that can be sorted and used to analyze existing debtors and debts for all account code/departments or just a single account code/department. Prior to this option being available a local government had to request the Clearinghouse to generate an excel file for them. And it probably included additional debts that are not in the local government's current database, debts that had been deleted or replaced by an import. But running locally provides only the debtors and debts that are current.
- be aware that prior to version 2012.11, some of the cells that appear in the Excel export file will be empty. These are items such as Dates: Date Added and Updated, Letters Printed and User.
- there are Excel limitations on the number of rows (debts) that be created for each version of excel:
Version 2003 and older: 65,536 rows (need Microsoft Compatibility Pack to open an .xlsx)
Version 2007 and newer: 1,048,576 rows
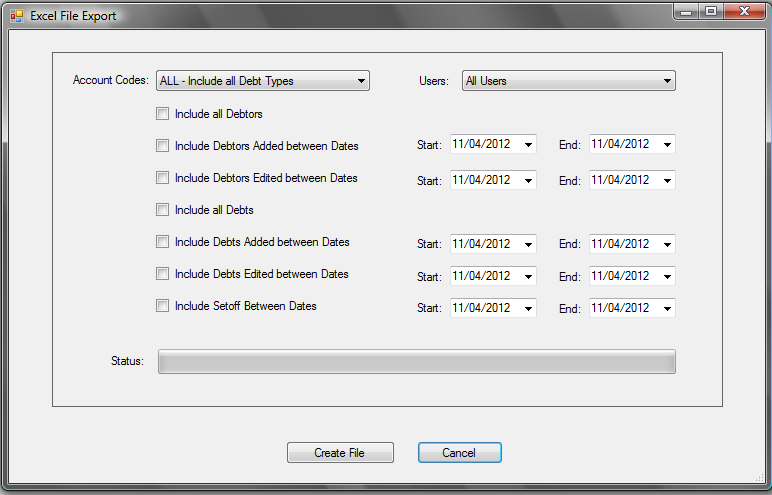
There are two different drop down box selections:
There are seven different options, that can be selected singularly or as multiples:
The options above that offer Start and End Dates are helpful in determining timeframe statistics and analysis, such as for the month, quarter, fiscal year, calendar year...
Information: that is generated in the Excel Export file
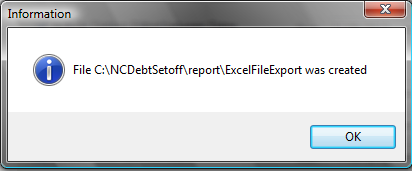
File Name and Location: The file will be called: ExcelFileExport.xlsx and will be placed in the Report folder under the C:\NCDebtsetoff (Windows 7) or C:\Program Files\NCDebtsetoff (XP) folder. Open the file in Excel to view, sort, analyze, print...
Frequency: This process can be run at anytime.
 - this menu requires access rights assigned in the User Setup.
 - this is an alternative to the Audit Report which creates a report, rather than a file that has much more information and can be sorted.
1. From the Main Menu click Import/Export:

2. Move the mouse over Excel File Export and click this option:
3. The following appears:
4. Click the  down arrow for the following accessible accounts:
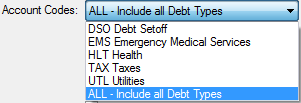
5. Click the desired account code or ALL
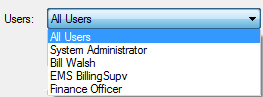
6. Click the  down arrow for the entire list of Users:
7. Select any or all of the possible choices by clicking the check boxes:
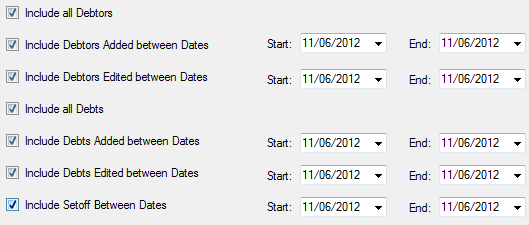
8. The Start and End Dates offer an additional selection criteria , click the  for the calendar or type in the selected dates.
9. Click  to begin the creation of the excel file, which will initiate the Status Bar:

- once the file is created the following appears:
- Press
to return to the Main Menu:
